I was going to post about the Yukata thing today, but then I was looking through my photos and realised that I never blogged about the Rilakkuma chocolate! I bought (and made them) a while back, while they were on sale. Let me show you the box, which was way adorable.
 |
| *high pitched squealing* |
While I’m not that big a fan of Rilakkuma, my sister and Rena are, so I can’t but be slightly influenced by them. This is what the kit contains:
They are:
- Chocolate mold
- White and Milk chocoate
- Pink chocolate (the pink tube)
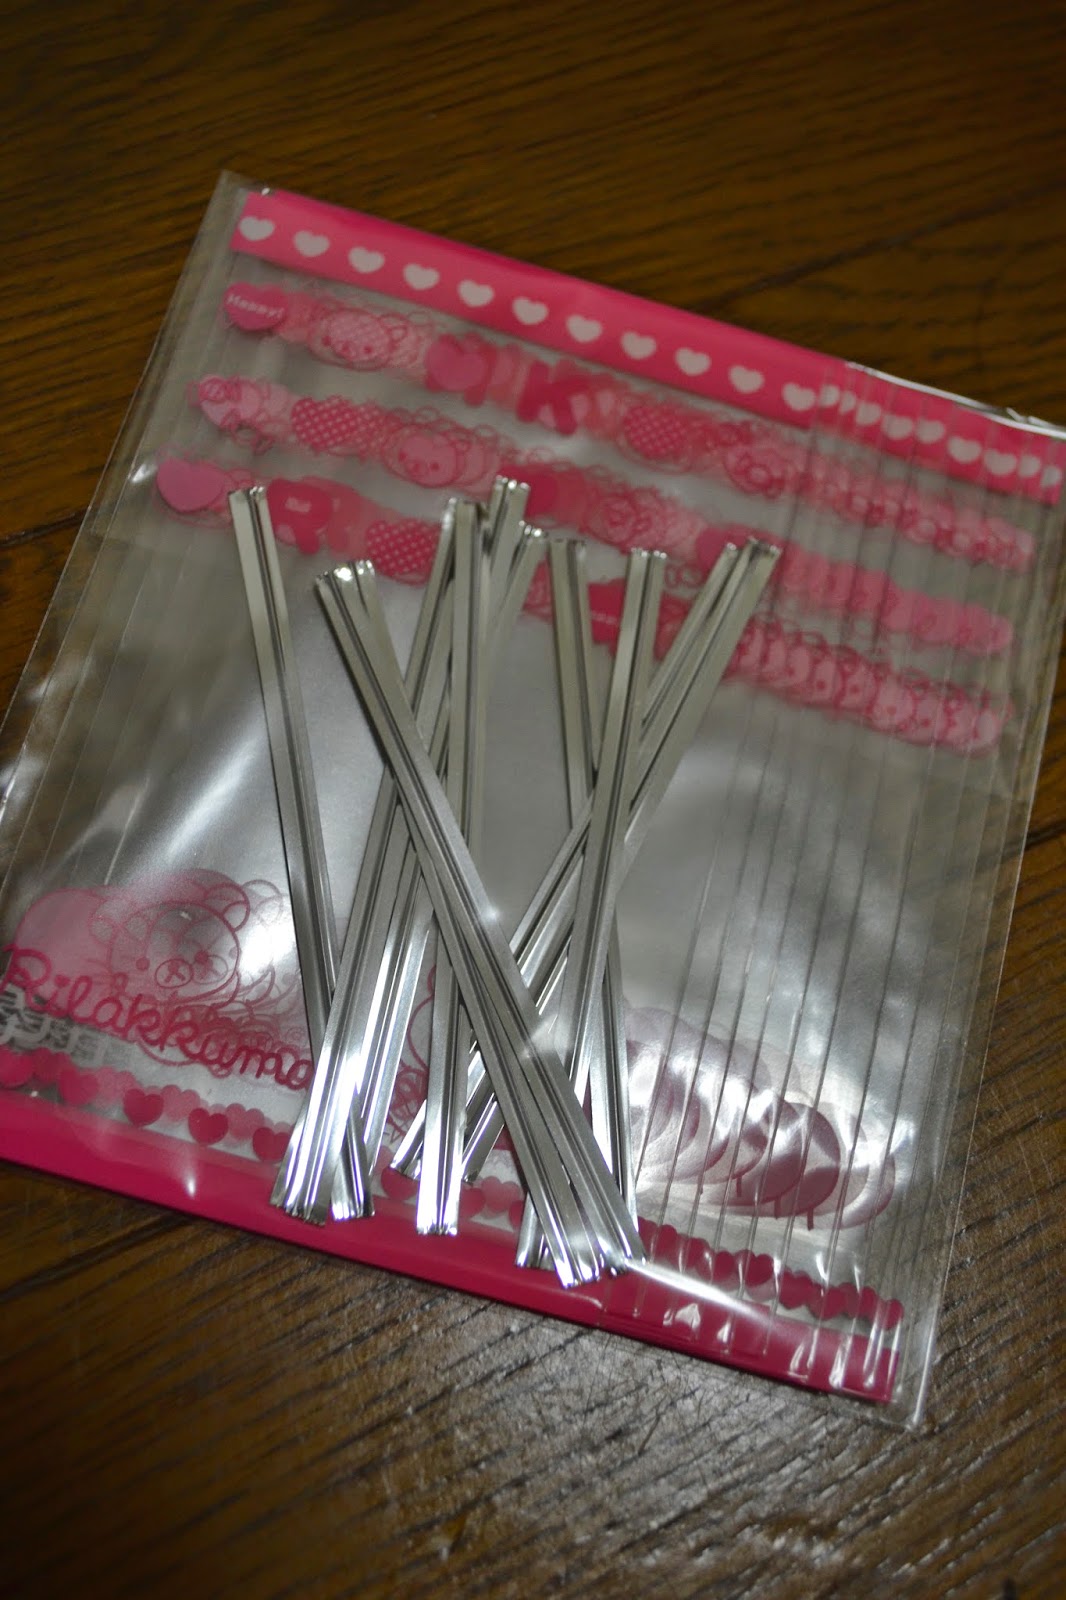
- Small bags with bag ties
| The picture of deliciousness |
There was actually quite a lot of chocolate left over. I even had enough to make one special chocolate to my friend, in order to apologise for sleeping in and missing the movie (we planned to watch the latest Detective Conan movie together) ._.
| I think it turned out sell. At least the words held their shape. |
The chocolates themselves turned out pretty well too!
And they were really simple to make too! Here are the instructions:
1. Melt the chocolate. The thing to note here is to be sure to melt the pink chocolate thoroughly. It took me quite some effort to squeeze it out at first. It’s a bit hard to guauge whether it’s melted, but the best test is to squeeze some chocolate out. If it comes out easily, it’s melted.
2. Fill in the molds. Start with the details (pink) then add in the rest (either white or milk chocolate)
3. Resist the urge to drink melted chocolate. Just wait for it to cool.
4. EAT.
| Eat meeeeee |
I think both white and milk chocolate look pretty with pink details.
| EAT MEEEE |
And the poses are really cute too.
| Just chillaxing here. |
If you plan on giving them away, the little packets are enough for one or two chocolates.
But me being me, I managed to cram in 4 chocolates. There wasn’t much space at the top though :p
Would I make this again? Absolutely. I’d love to buy it back to Singapore, but I don’t think it’s sold anymore. I’ll have to go supermarket hunting again ><

